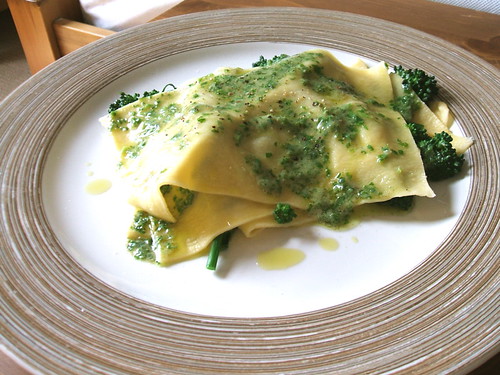
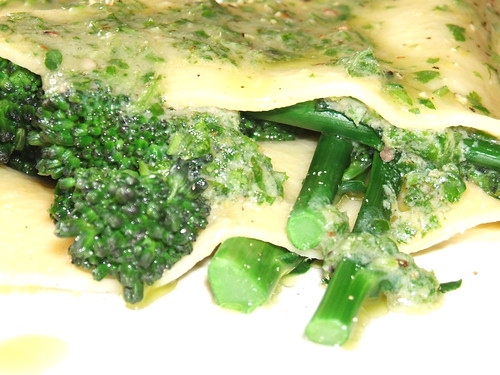
Open ravioli of purple sprouting broccoli with lemon, parlsey and anchovy butter
I’m having to come up with more ingenious ways to use the broccoli, as just on it’s own it gets a bit boring. I wanted to have a go at making ravioli this weekend anyway, but having followed Jamie Oliver’s recipe for fresh pasta in Jamie’s Italy and ending up with two metric tons of the stuff, I had to try and use it in other recipes, and if possible squeeze in some broccoli.
I have seen similar ideas for open ravioli before, and I’m all for the easy option, avoiding having to make little time-consuming parcels which inevitably burst and end up getting water-logged (I’m imagining it takes practice but I’m not a patient person). I did, however, have a go at making the parcels and of course it all ended up looking like the cat had pre-digested it for us, so I won’t show you the picture. It was very tasty though! I roasted red onions and garlic with olive oil, salt and pepper until soft and then blitzed it in a food processor with goats cheese and a little thyme. I’ll try and perfect that and post the recipe some time.
The other pasta dish worked out really well though.
Basic Pasta recipe: (this makes enough for 4-6 people it says in the book)
600g Typo 00 flour
6 whole free range eggs or to make it richer 12 egg yolks
Measure out the flour and make a well in the middle. Break the eggs into the centre of the well and with a fork whisk the eggs and gently start to incorporate the flour. When the flour has started to come together, flour your hands and start to kneed it, this will take about 10 minutes and you should finish up with a smooth elastic dough. Wrap the dough in cling film and put in the fridge for 30 minutes.
Then start to roll the dough out ready to be fed into the pasta roller ( do this with a litle bit of the dough at a time, I used about a golf ball size bit of the pasta to serve one). You will need to flour the dough well so it doesn’t stick to the rollers. Feed the pasta into the rollers on the thickest setting and wind it through. Do this a few times before working down through the thicknesses until you finish with a dough that is about 1mm thick. Trim the dough and divide into oblongs however long you like and put in the fridge until you are going to use (make sure if you lay them ontop of one another you sprinkle a little flour in between each bit of pasta).
Lemon, parsley and anchovy butter (enough for 1)
50g butter slightly softened
5 anchovy fillets (the ones you get in oil in jars, salted will do but rinse them first)
tsp of lemon zest
2tsps lemon juice
small handful of flat leaf parsley leaves
pepper (and a little salt if needed)
Put all the ingredients in a food processor and blitz (chop very small by hand if you don’t have one). Then wrap the butter in cling film and chill.
Putting it together:
Put a large pan of salted (you will need quite a lot as there is no salt in the pasta) water on to boil. Put a smaller pan of salted water on to boil for the broccoli.
Put a small handful of broccoli into the small pan of boiling water and also put the pasta in to the large pan of boiling water. They should both take only a few minutes but test both, you don’t want to make the pasta limp and the broccoli grey. Once the broccoli is cooked refresh in cold water to stop it cooking and keep it’s colour.
Lay a piece of cooked pasta onto your serving plate and place a few stems of broccoli, season and add a dollop of the lemon, parsley and anchovy butter. Place another sheet of pasta on top and repeat the process, topping with more butter and a drizzle of extra virgin olive oil if you like and a grind of pepper. Serve quickly
Technorati Tags: ravioli, red onion, goats cheese, thyme, salt and pepper, pasta, purple sprouting broccoli, butter, anchovies, lemon, flat leaf parsley, free range eggs, typo 00 flour


May 4th, 2007 at 5:27 am
Wonderful photos and the ideas certainly work for me-happy cooking!
May 21st, 2007 at 11:19 am
After an over-enthusiastic sowing of seeds at the cottage recently we now have dozens of purple sprouting broccoli plants - at least I now know where to go for ideas for when they get to the cutting stage!
May 21st, 2007 at 11:28 pm
You will be shoving it in sandwiches and fashioning broaches out of it soon